Stripping and Waxing VCT Floors: What the Process Involves
October 31, 2026
Quick Answer: Stripping and waxing a VCT floor means removing every layer of old finish, neutralizing and rinsing the tile, and then building new finish back up in thin, even coats. The work runs in a fixed order: clear and dust mop the area, apply a diluted stripper in manageable sections, let it dwell without drying, scrub with a floor machine and a stripping pad, recover the slurry with a wet vacuum, neutralize, rinse, let the floor dry completely, and then apply multiple coats of finish with drying time between each. Most of the finished result depends on steps that nobody sees afterward, mainly the dwell time, the rinse, and the dry time before finish goes down. Facilities that skip any of those steps tend to see cloudy, peeling, or uneven finish within weeks.
On a Monday morning in a Berkeley office building, the lobby floor looks fine from across the room. Then the lunchtime light comes through the front windows at a low angle, and the whole surface shows its history: a dull gray lane from the entrance to the elevators, dark scuff clusters near the reception desk, and a yellow edge along the baseboards where years of mopping have pushed old finish into the corners. Nobody on the property team decided to let it get that way. Finish wears down and builds up in layers, and each layer holds a little of whatever was on the soles of everyone who walked across it.
That layered buildup is exactly what a strip and wax is designed to reset. This article explains what the process involves from start to finish, what decisions shape it, how green products and methods fit into it, and what a facility manager should expect to see on the day the work happens and in the days afterward.
What VCT Is and Why It Gets Finished
Vinyl composition tile, usually shortened to VCT, is a resilient floor made of vinyl binder and limestone filler pressed into square tiles. You find it in schools, retail spaces, break rooms, back of house corridors, clinics, warehouses with office areas, and many older commercial buildings around Alameda, Oakland, Hayward, San Leandro, and across the East Bay. It is a common choice because it is durable and easy to replace tile by tile.
VCT is also slightly porous. Left bare, it picks up scuffs and soil, and it can dull quickly under foot traffic and rolling loads. A floor finish, often called wax even though modern products are acrylic polymers rather than true wax, gives the tile a sacrificial surface. Soil and scuffs collect on the finish instead of the tile, and the finish can be cleaned, buffed, and eventually removed and replaced. Stripping and refinishing is the periodic reset of that sacrificial layer.
Some VCT products ship with a factory applied coating, and manufacturers publish their own maintenance guidance for those. If your floor has one, the manufacturer instructions should be reviewed before any stripper touches the tile, because the right initial maintenance plan can differ from a bare tile floor.
Signs a Floor Is Ready to Be Stripped
A floor does not need stripping every time it looks tired. Routine cleaning, damp mopping, and periodic buffing or recoating handle many dull spots. Stripping is the right call when the finish itself has become the problem. Common signs include:
Yellowing And Discoloration
Aging finish traps soil, creating yellow or amber discoloration along walls and furniture lines.
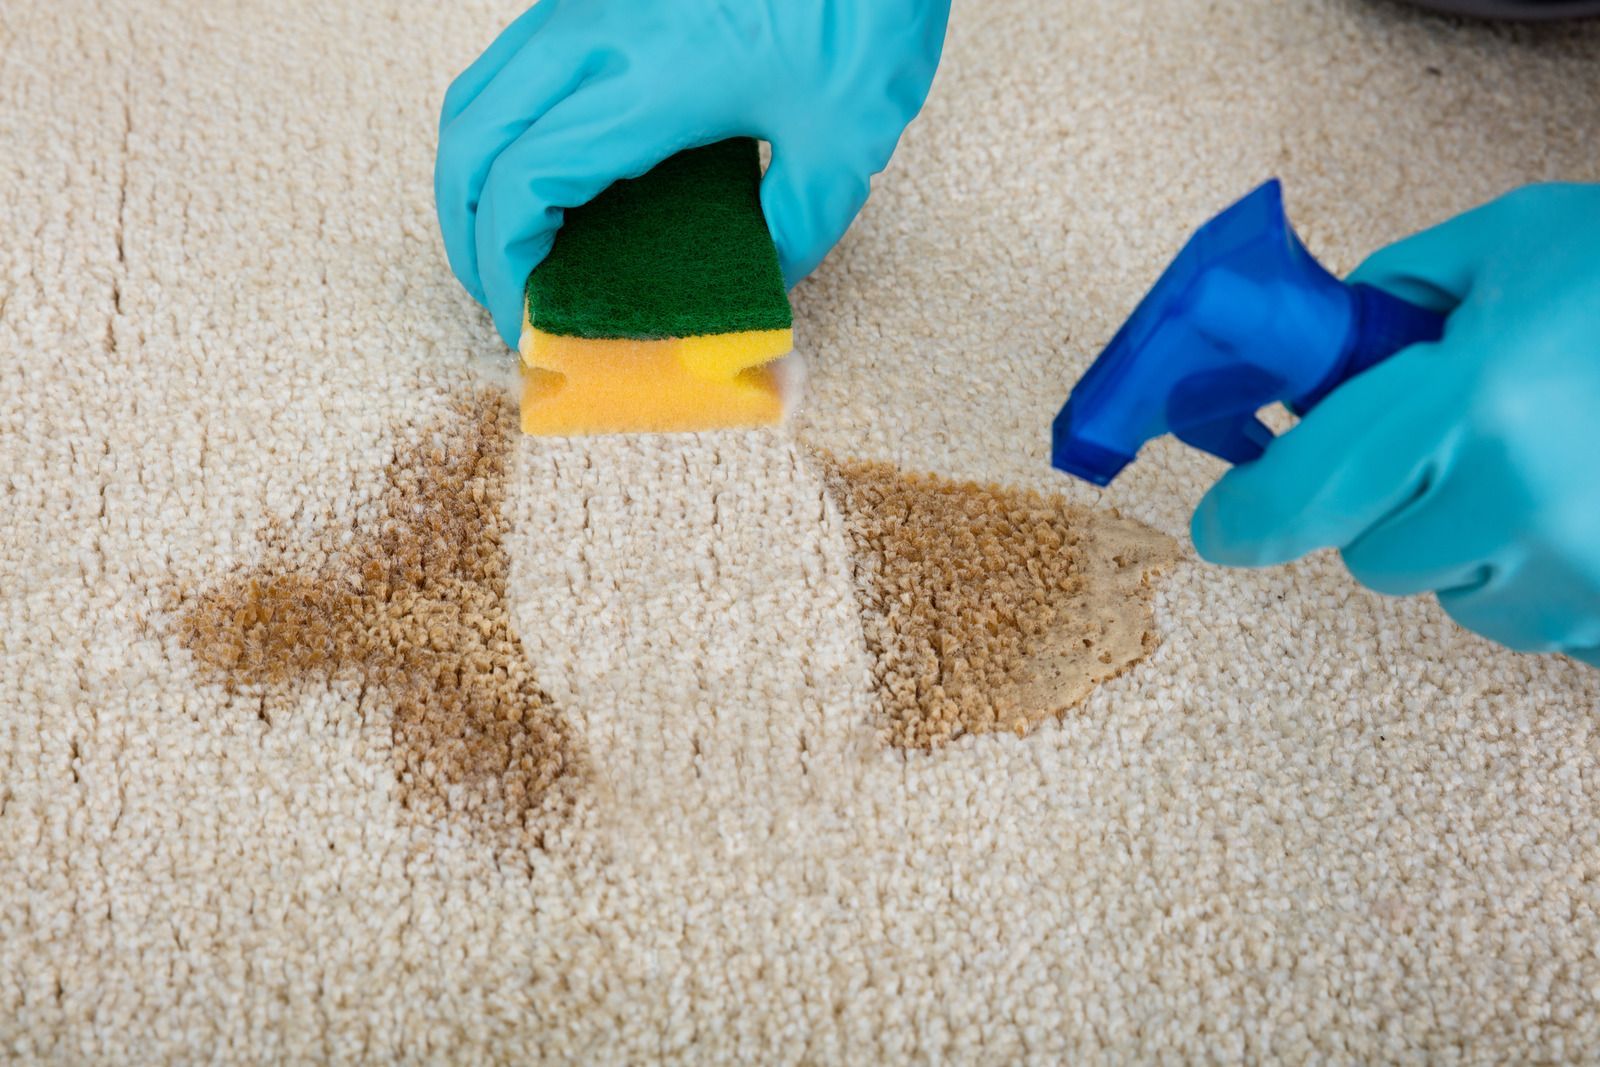
Scuffs And Black Marks That No Longer Come Up
Deep scuffs embedded within finish remain visible despite buffing and surface cleaning attempts.
Peeling, Flaking, Or Cloudy Patches
Peeling or cloudy areas often indicate poor adhesion or moisture trapped beneath older finish layers.
Finish Buildup At The Edges And In Corners
Edges and corners collect thicker finish layers because cleaning machines reach room centers more often.
Uneven Gloss Across The Floor
Uneven gloss usually reflects different wear patterns and inconsistent recoating across the floor.
Manufacturer guidance generally ties the stripping interval to how well the floor is maintained between strips. Floors that get regular buffing or burnishing can go longer before a full strip. Floors that are not actively maintained will reach that point sooner, often within the first year. A careful inspection of your own floor, not a calendar, is the most reliable trigger.
Step by Step: How a Professional Strip Works
The sequence below follows common industry practice from floor care suppliers and manufacturers. Exact products and dilution rates change with the stripper chosen, so a professional crew always works from the product label.
Step 1: Plan And Protect The Space
The crew inspects the area, identifies damaged tiles and loose seams, and plans closure. Furniture, mats, and fixtures are removed. Wet floor signs and ventilation are established before stripper is opened to manage vapors safely throughout process from start to finish today carefully.
Step 2: Remove Loose Soil
The floor is swept along baseboards and dust mopped across open areas. Removing loose soil prevents grit from entering slurry and scratching tile. Crews may also protect baseboards so splashed stripper wipes away more easily later during cleaning before beginning the stripping work.
Step 3: Apply Stripper In Sections
Stripper is mixed according to label directions and applied in manageable sections. Each section must be completed before drying. Working in smaller areas keeps the stripper wet while it softens the existing finish effectively before product can dry without leaving unfinished areas behind.
Step 4: Let It Dwell
The stripper needs time to soften old polymer buildup. Dwell time varies with the number and age of coats. If the solution begins drying, additional stripper is applied to keep the surface wet before beginning the agitation process before the machine work begins.
Step 5: Agitate With A Floor Machine
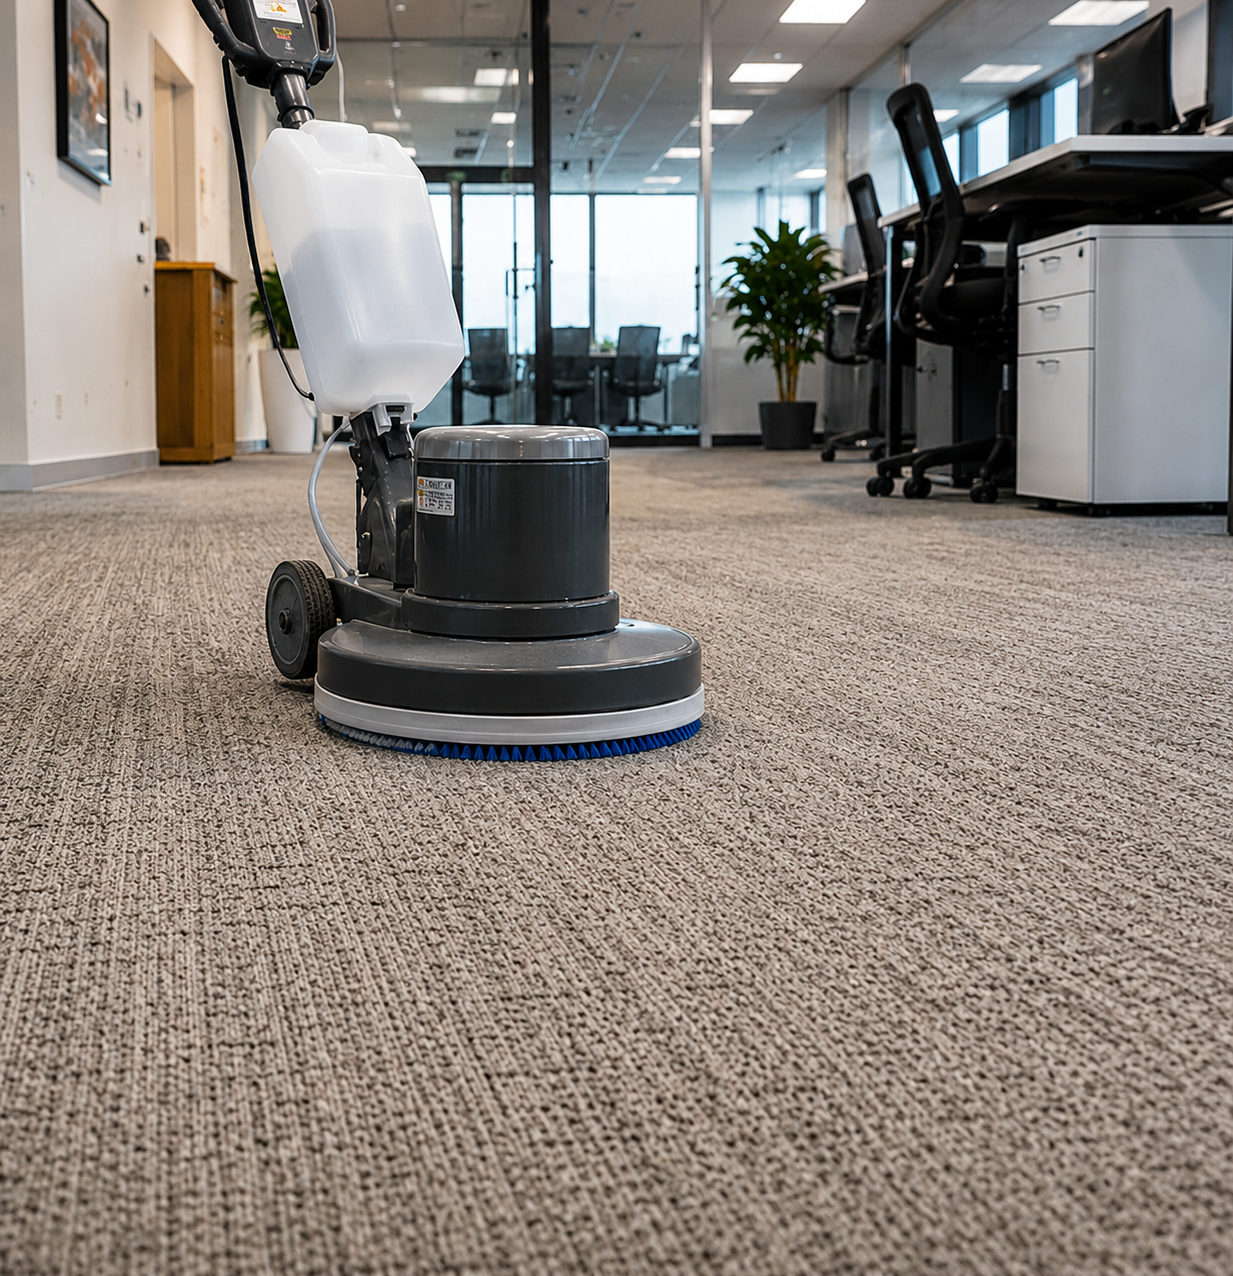
A rotary floor machine with a stripping pad loosens softened finish. Overlapping passes prevent streaks, while edges and corners receive hand detailing. Automatic scrubbers are generally unsuitable because they cannot agitate heavy slurry properly around inaccessible perimeter areas where machines cannot reach effectively.
Step 6: Recover The Slurry
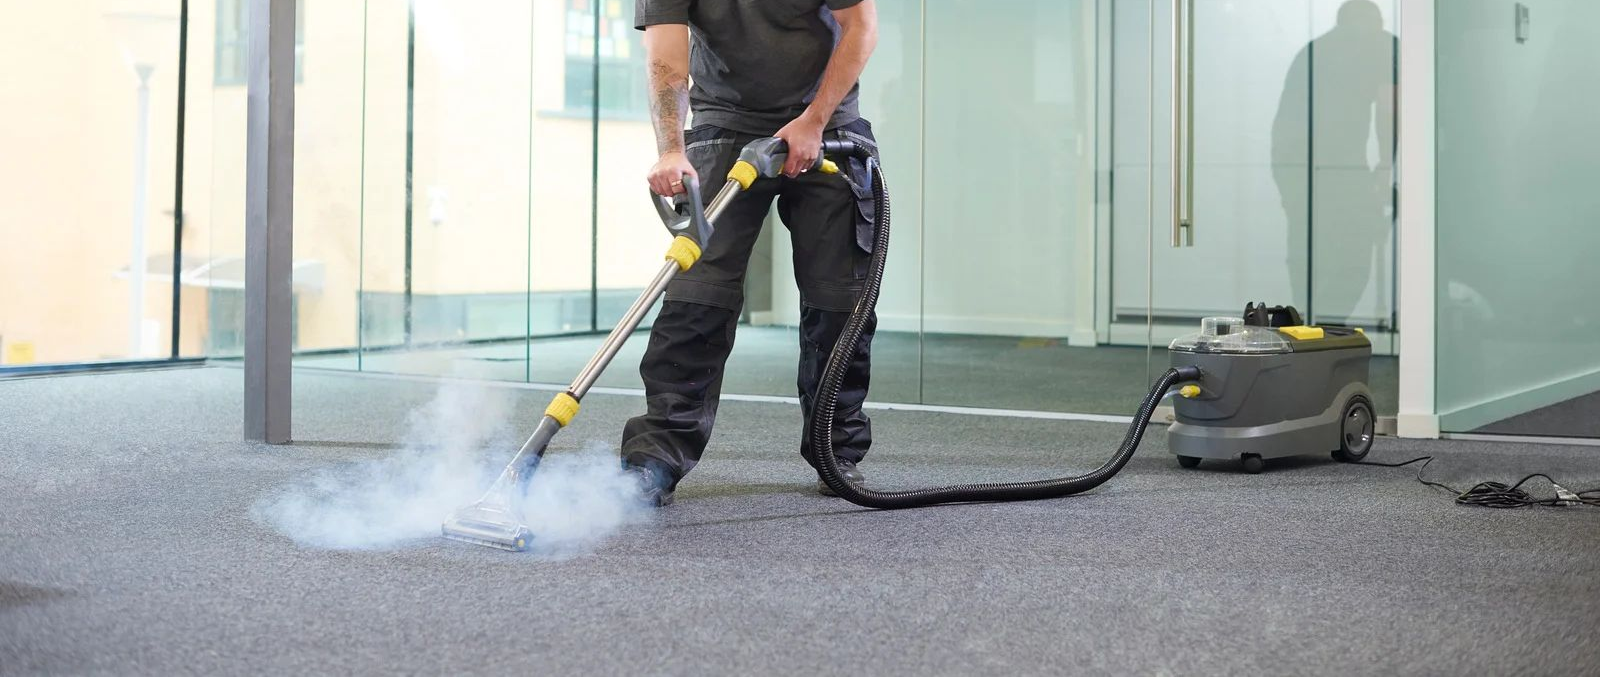
A wet vacuum removes the gray slurry containing stripper and dissolved finish. Additional mopping or vacuuming collects remaining residue. Crews inspect continuously and treat visible patches before proceeding to prevent cloudy spots later before applying new finish so the next coating bonds properly.
Step 7: Neutralize And Rinse
A neutralizing rinse removes alkaline stripper residue, followed by clean water rinses. The floor should feel clean without film or haze. Proper rinsing is essential because residue can prevent new finish from bonding and ensures proper adhesion afterward across the entire treated surface.
Step 8: Dry Completely
The tile must dry completely, including seams, before finish application. Air movement speeds drying, while corners and doorways need extra attention. Trapped moisture can cloud the finish from underneath after application begins before any coating is applied before applying the first coat now.
Step 9: Apply The Finish
Finish is applied in thin, even coats using a clean mop or applicator. Each coat dries before another is added. Commercial VCT commonly receives three to five coats, depending on product guidance and conditions while following manufacturer instructions, label requirements, and drying recommendations.
Step 10: Cure And Return The Space
The finish may feel dry before fully curing. Light traffic can return sooner, but heavy traffic, rolling loads, and furniture should wait. Many suppliers recommend overnight curing before normal use resumes in the space whenever conditions allow proper curing before normal operations resume.
Why Dwell Time, Rinsing, and Dry Time Decide the Result
Most complaints about a refinished floor trace back to one of three steps that happen out of sight.
Dwell Time
Insufficient dwell time leaves stubborn film beneath the surface. New finish over residue may cloud or flake along traffic lanes.
Rinsing
Unrinsed stripper and dissolved finish leave residue behind. New finish bonds to residue instead of tile, causing sheets to lift.
Dry Time
Moisture trapped in seams or beneath finish creates white haze and slows curing. Confirm surfaces feel dry before applying finish.
When someone on your property team asks why a professional strip takes as long as it does, these three steps are the answer. They are the difference between a floor that looks right on the first day and a floor that still looks right months later.
Where Green Cleaning Fits Into Stripping
Stripping has a reputation as one of the harsher jobs in commercial cleaning, with strong odors and heavy chemistry. That reputation is partly earned by older products. Today there are stripper formulas designed to reduce odor and environmental impact, and an independent standard exists for evaluating them. Green Seal publishes a standard, GS 40, for floor care products for industrial and institutional use, and certified strippers and finishes are available from several suppliers. Some of these are described as low odor, phosphate free, and biodegradable, and are formulated to be usable in occupied buildings.
A green approach to a strip and wax covers more than the product choice. It includes:
Choosing Certified Products
Choose compatible certified products and pretest stripper in an inconspicuous area before full application.
Measuring Dilution
Measure stripper dilution accurately instead of guessing. Overmixing increases chemical use, recovery demands, rinsing, and waste.
Recovering Slurry Properly
Collect slurry completely and dispose of it properly. Never rinse contaminated water into storm drains or waterways.
Reducing Stripping Frequency
Regular dust mopping, damp mopping, burnishing, and recoating extend finish life and reduce chemical use.
Using Efficient Equipment
Use well maintained wet vacuums, floor machines, and clean pads to reduce water, chemical use, and rework.
Timing the Work for an Occupied Building
Stripping and refinishing is disruptive, and the schedule decides how much. Offices, clinics, retail stores, and schools each need a different plan.
After Hours And Weekends
Schedule commercial stripping overnight or weekends, allowing floors adequate time to dry and cure before staff return.
Phased Sections
Divide work into zones when buildings remain open. Complete one area before closing and servicing the next section.
Ventilation And Odor Planning
Plan airflow carefully and avoid nearby air intakes to minimize odors and maintain comfort throughout the building during stripping.
Traffic Control
Use barriers, signage, and controlled entrances to protect fresh finish from footprints, carts, and accidental traffic during curing.
Seasonal Considerations
Humidity and damp weather can slow drying. Crews adjust fan use and time between coats according to conditions.
TIP: Before any strip, ask for a quick walk of the floor with your service provider. Point out leaks, damaged tiles, spots where furniture has been dragged, and any area that has been refinished more recently than the rest. Those details change the plan, and surprises are easier to handle before the stripper goes down than after.
What to Do After the Floor Is Finished
The new finish is only as good as the maintenance plan that follows it. A few habits protect the work.
Hold Off On Heavy Cleaning In The First Days
Allow fresh finish time to harden fully. Avoid aggressive scrubbing or harsh cleaners during the first few days.
Use Neutral Cleaners
Use neutral pH cleaners for finished resilient floors. Highly acidic or alkaline products can wear protective finish faster.
Protect The Entries
Place walk-off mats at every entrance and maintain them regularly. Mats reduce abrasive grit carried onto finished floors.
Dust Mop Daily And Damp Mop Regularly
Dust mop daily and damp mop regularly. Removing loose grit prevents sandpaper-like abrasion under constant foot traffic and extends finish life.
Schedule Burnishing Or Recoating
Schedule burnishing to restore gloss and remove light scuffs. Periodic recoating refreshes high-traffic areas before wear reaches the tile.
Use Floor Protectors Under Furniture
Place protectors beneath furniture legs and equipment. Dragging chairs or rolling equipment can create marks and gouges that finish cannot conceal.
Warning: Do not allow carts, pallet jacks, or furniture back onto a refinished floor until the crew confirms the finish has cured. Finish that feels dry to the touch can still mark, dent, or lift under a rolling load in the first hours.
FAQs
How often should commercial VCT floors be stripped and waxed?
There is no single schedule. Regularly buffed floors last longer between strips, while neglected ones may need stripping every several months. Yellowing, deep scuffs, and peeling finish are better signals than the calendar.
Can you wax VCT without stripping it first?
Sometimes. If the existing finish is intact, clean, and well bonded, a maintenance coat after thorough cleaning can refresh it. Yellowed, peeling, or heavily built up finish requires a full strip.
How many coats of finish does a VCT floor need?
Commercial VCT commonly needs three to five thin coats, applied one at a time with drying time between each. The finish label sets the exact number, while humidity and airflow affect drying.
How long does a floor take to dry and cure after being waxed?
Each coat usually dries in thirty to forty five minutes. Light foot traffic may be possible after a few hours, but curing overnight, or up to eight hours, is advised before heavy use.
Are there green options for stripping and waxing floors?
Yes. Green Seal certified strippers and finishes are available, many with low odor and no phosphates. A green approach also means careful dilution, proper slurry recovery, and compatibility testing first.
Why does new floor finish sometimes cloud, peel, or look streaky?
Common causes include leftover stripper residue, incomplete old finish removal, trapped moisture, or coats applied too thick or too soon. Each traces back to a rushed step in the process.
Patient Sequencing Gives a VCT Floor Lasting Shine
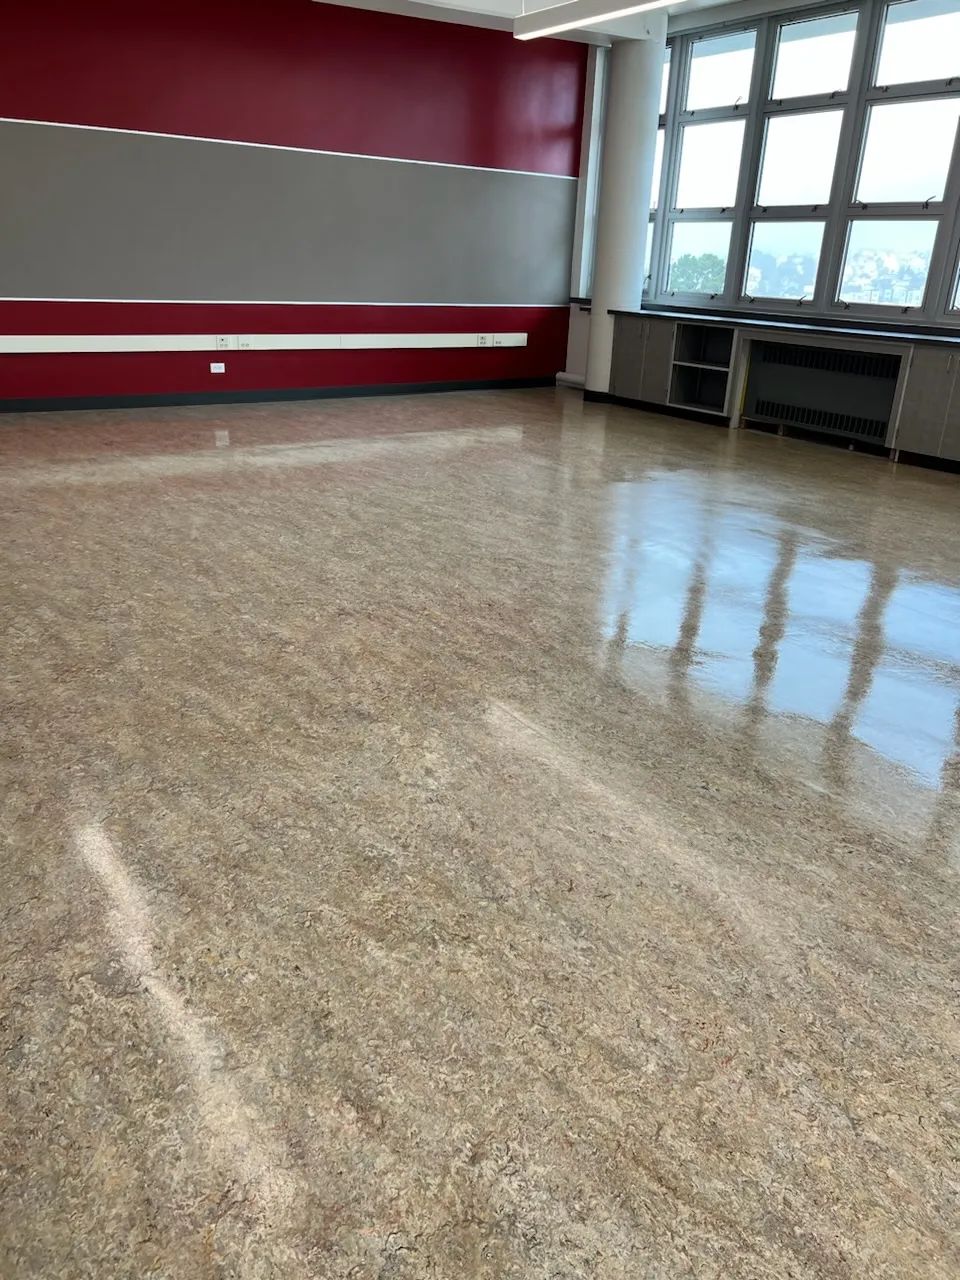
When the work is done well, the floor does not announce it. The lobby simply reads as clean and even, the edges along the baseboards match the center of the room, and the afternoon light shows depth in the finish instead of a map of old wear. The visible result is only the last part of the job. The rest is patient sequencing: giving the stripper time, recovering every bit of slurry, rinsing until the tile is clean, and building thin coats that have room to dry.
With 30
years of experience serving Berkeley, CA, All-Ways Green Services
has seen how much a floor benefits when each step is given its proper time. Neutral daily cleaning, good entry matting, and sensible burnishing keep the finish presentable long after the crew has gone. A
floor stripped
on a sensible schedule and maintained with care can stay handsome for a long stretch, which spares the building another reset for a good while.